How to Prep & Dehydrate Nails for Gel Polish Top Tips
|
|
Time to read 5 min
The number one thing you can do to make your mani last as long as possible is PREP PREP PREP! Having clean and healthy nails to start with can make a world of difference!
Proper preparation and dehydration of your nails before gel polish application will help them to last a whole lot longer, so you can enjoy your beautiful mani for weeks at a time. After all the effort you put into creating the perfect mani, of course, you want it to last as long as possible!
We’ve listed out 5 steps for how to prep nails for gel polish below to give you the rundown on everything you need to do.
Are you ready? Let’s get preppin’!
How to prepare your nails for gel polish application
It’s definitely worth spending as much time as possible on preparing your nail bed before applying your gel polish.
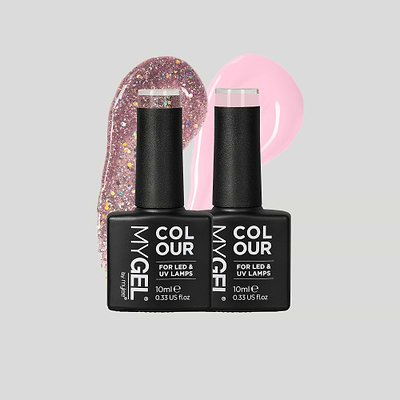
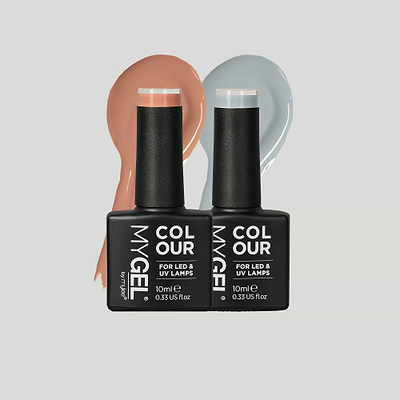
Whilst applying and curing your Mylee gel nail polish, Builder Gel, and Magic Extender Gel is the fun part of the process, only proper preparation and dehydration of the nails beforehand will ensure your mani lasts for up to 3 weeks.
Step One: Shape Your Nails
The first step in prepping your nails for gel polish application is to get your perfect nail shape.
If you want to trim your nails down to a shorter length, you can use Curved Nail Clippers to cut down your natural nails or use a Nail File to take down some length.
You can also gently use a nail file in one direction along the free edge of your nail to shape it.
Our Pack of 3 Nail Files are perfect for achieving your desired nail shape, whether that’s giving it a rounded edge, or square edge, or you want to try something new like an almond or stiletto shape, it’s totally up to you!

Step 2: Push Back Your Cuticles
You can soften your cuticles first with the Mylee Cuticle Remover by applying the cuticle remover and letting it sit on your nails for 60 seconds before wiping off.
Then use a Metal Cuticle Pusher or Wooden Cuticle Pusher Sticks to gently push your cuticles back. This includes pushing off any cuticle that has grown up and over your nail bed.
Pushing back your cuticles means there’s no chance of painting over your cuticles, which can cause the gel polish to lift from your nail surface.
Be mindful of getting all the skin off the edge of the entire nail bed – even the tiniest flake of skin can cause your gel to start lifting!

Step 3: Remove Dead Skin
The next step is to remove any dead skin around the cuticle area.
Using Cuticle Nippers to remove any lifted or dead skin around the nails will help to keep your cuticles neat and tidy, and, again, it won’t give that polish any opportunity to lift!
Only ever nip and push away dead skin. You can tell it’s dead if it’s white in colour. It’s so important that you’re careful not to nip any live skin around your nails, otherwise, it can cause bleeding and even infection.

Step 4: Buff Your Nails
Next, you want to buff your nails with a fine Grit Buffer. Having a smooth surface on your nails may give the polish more opportunity to lift.
Having a buffed nail gives your nail bed texture and grit and something for the polish to adhere to. But be careful not to over-buff – your nails are very thin and delicate, and filing the natural nail too much may cause damage.
How to Buff Nails Before Applying Gel Polish
Use our 180 Grit Sanding Block over the surface of your nails, using a gentle motion in one direction, from edge to edge.
Make sure you buff the entire nail surface to get the best grip.

Step 5: Cleanse & Dehydrate Your Nails
One of the most common reasons your gel manicure can lift is if there’s any dirt or oil on your nail bed. Remember, not all dirt and oil are visible!
Be careful if you’ve applied cuticle remover or washed your hands with soap and water before applying your gel polish, as this can all cause residual oils to be left on the nail plate.
You want to cleanse your nails of this dirt and oil and dehydrate the nail plate before application.
How to Cleanse and Dehyrdate Nails
The best way to do this is to take some Prep & Wipe solution on a Lint Free Wipe, making sure to soak the wipe. You should then wipe it the solution over your nail surface, making sure to clean the entire nail.
Or, you can use Mylee’s ready-made Prep & Shine Wipes, which are pre-soaked with the solution.
This will cleanse the nail plate and remove any oil residue to give you a clean and dehydrated nail ready for gel polish application.
Using a lint-free wipe as opposed to a cotton pad helps, too, as there won’t be any lint or little fluffies left around the nail when it comes to painting.
This step is always important to do last, to remove any extra dust you may have on your nails after filing and buffing them.

Now Your Nails Are Ready for Mylee Gel Polish!
After following all these steps, you’re ready to start on your mani!
Always start your gel polish application with a Base Coat layer cured for the right amount of time underneath your Mylee LED lamp.
You can paint your Mylee gel colours or Magic Extender Gel over the top, creating whatever design you like and experimenting with different looks. If you’re using our Builder Gel, then this base coat is optional.
You can find tons of nail inspo on our blog, so head on over there to get your ideas flowing.
Make sure to seal in your gel polish designs with a layer of Top Coat for a mani that lasts up to 3 weeks.
Check out this video to see nail prep and dehydration in action!
FAQs
How do I properly prep my nails before applying gel polish?
Your nail prep should always start by shaping and cutting down your nails into your desired nail shape and length. Push back your cuticles and remove any dead skin, taking care not to nip any live skin. Then, buff your nails with a 180 grit buffer using a gentle motion in one direction. Finish by cleansing and dehydrating your nails to remove dirt and oil.
Do I need to dehydrate my nails before applying gel polish?
Yes, and this is a really important step in your gel nail prep. Cleansing and dehyradting your nails will remove any dirt and oils from your nail surface, giving the polish a clean base to apply to. Soak a Lint Free Wipe in our Prep & Wipe and wipe it over your entire nail surface.
How do I buff my nails?
Use our 180 Grit Sanding Block and take it across your nails in one direction from edge to edge. Take care not to buff too harshly – you don’t want to damage your nails.
How do I push back my cuticles?
Soften your cuticles with Mylee Cuticle Remover by leaving the solution on for 1 minute and wiping off after this time. Take a metal pusher or wooden pusher stick and gently push back your cuticles, including any skin overgrown on your nail bed.

Ellie Simmons
Ellie is the Brand Manager at Mylee, where she immerses herself in all things gel nails.
Alongside being a skilled and certified nail technician, Ellie's expertise extends to gel manicures and nail extensions. Her heart and soul are devoted to all things nail-related, and she loves flaunting her own long, natural nails with captivating nail art.
Ellie's ultimate favourites are iridescent and sparkly designs!