DIY Nails - The Dos & Don'ts
|
|
Time to read 5 min
There’s nothing much better than achieving salon-perfect at-home gel nails straight from your sofa. But how do you do it? We’re here to reveal all.
Compared to your average nail polish job, gel nails stay put for longer. Fact! We’re talking THREE weeks in many cases.
However, salon gel nail treatments are pricey (plus you pay extra for the removal of previous gel polishes), so being finger – and feet pretty – doesn’t come cheap.
BUT, what if chip-free, polished nails for longer didn’t have to mean breaking the bank?
With Mylee’s gel nail polish, salon results can now be achieved straight from your sofa. Not just saving you money but also minus the hassle of booking an appointment.
So. Are you sitting comfortably? Here are some important dos & don’ts to get that all-important, professional finish for your at-home gel nails every time.
| DIY Gel Nail Do's | DIY Gel Nail Dont's |
| Dehydrate and clean your natural nails before application | Use hand cream or cuticle oil before applying polish |
| Clean gel polish off your skin before curing | Apply thick layers of gel polish |
| Cure each layer of gel polish | Forget any steps in your gel polish prep |
Don’t Use Hand Cream Before Applying Gel Polish
Even if you’ve just washed your hands and they’re feeling a little dry, it’s so important that you don’t apply hand cream before applying your gel polish.
The oil in moisturiser acts as a barrier, coating your nail plate with an invisible film, which will only result in a streaky, uneven finish. Plus, the gel polish won’t properly adhere and will peel really quickly.
What you do need to do is dehydrate and clean your nail beds ready for the polish.

Do Dehydrate, Clean & Buff Your Natural Nails Before Applying Polish
As we mentioned above, the presence of any oils or dirt on your nail beds will mean your gel polish won’t properly adhere to your nails, which is cause for a bad mani.
Buffing the surface of your nails is also incredibly important to ensure the gel adheres fully to your natural nails. You should be gentle, but buff your nails enough to create a rough surface. Wipe away the dust and then dehydrate your nails.
Use our Mylee Prep & Wipe Solution on a Mylee Lint Free Wipe and clean your natural nails. This removes any oils or dirts that are present and leaves a clean surface for the gel to adhere to.
Alternatively, our new Mylee Nail Prep Dehydrator is just as good. Simply glide the bottle brush over your nail beds and leave to completely air dry.
Don’t Miss Out Any Nail Polish Prep Steps
The secret to a salon-perfect gel polish at home is in allocating adequate time from start to finish.
Taking time to correctly and thoroughly prep your nails before applying polish is so important. So, as a run-down, here are our nail prep steps:
Step 1: Use a cuticle pusher to gently push back your cuticles, and apply the Mylee Cuticle Remover to remove any dead skin if needed.
Step 2: Shape the free edge of your nails with a file and remove the shine from the nail plate with a buffing block.
Step 3: Buff the surface of your natural nails to create a rough texture for the polish to adhere to. Wipe away any dust.
Step 4: Cleanse the nails with a lint-free wipe soaked in Mylee Prep & Wipe to remove any oil and residue on the nails so that the gel will adhere properly OR apply Mylee Nail Prep Dehydrator and wait to air dry.
Do Prep Your Area Ready for Your DIY Nails
Organise your space prior. Get all your Mylee gel kit essentials laid out so you’re not having to dive into a drawer midway to find a glass file or cuticle stick.
Plus, this way you can see if you’re missing anything from your Mylee essentials before you start. If you are, you can quickly order whatever it is you need and use our UK next day delivery option.
| Curing Time | Mylee LED Nail Lamp | UV Nail Lamp |
| Flash Cure | 15 Seconds | |
| Fully Cure | 30 to 60 seconds | 120 Seconds |

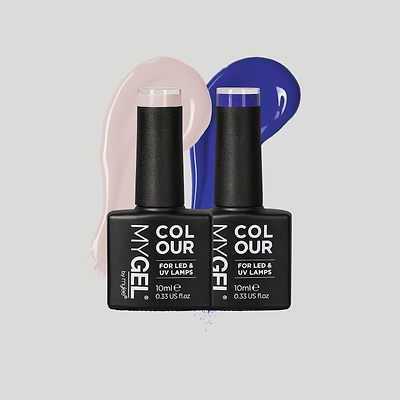
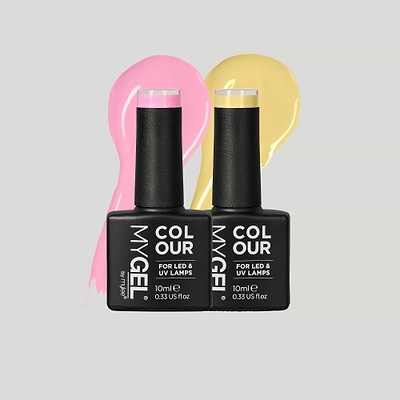
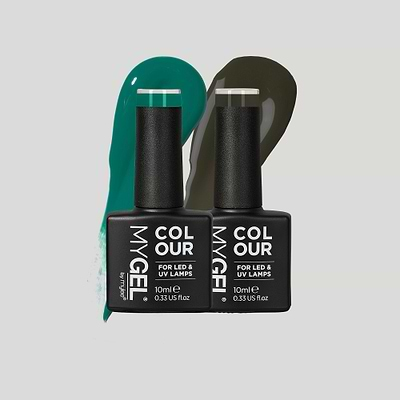
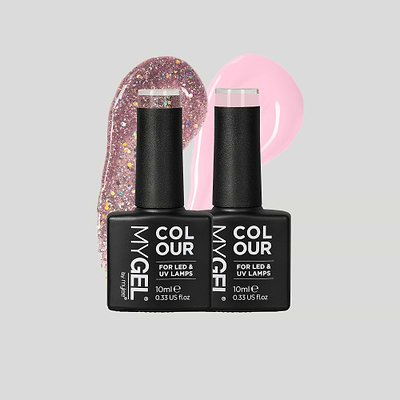
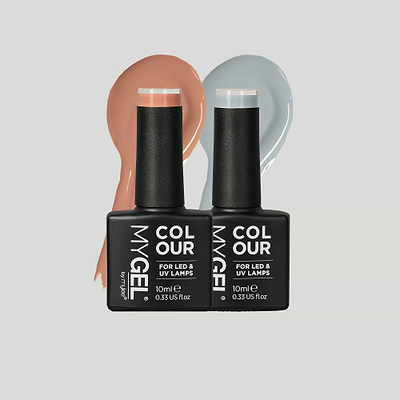
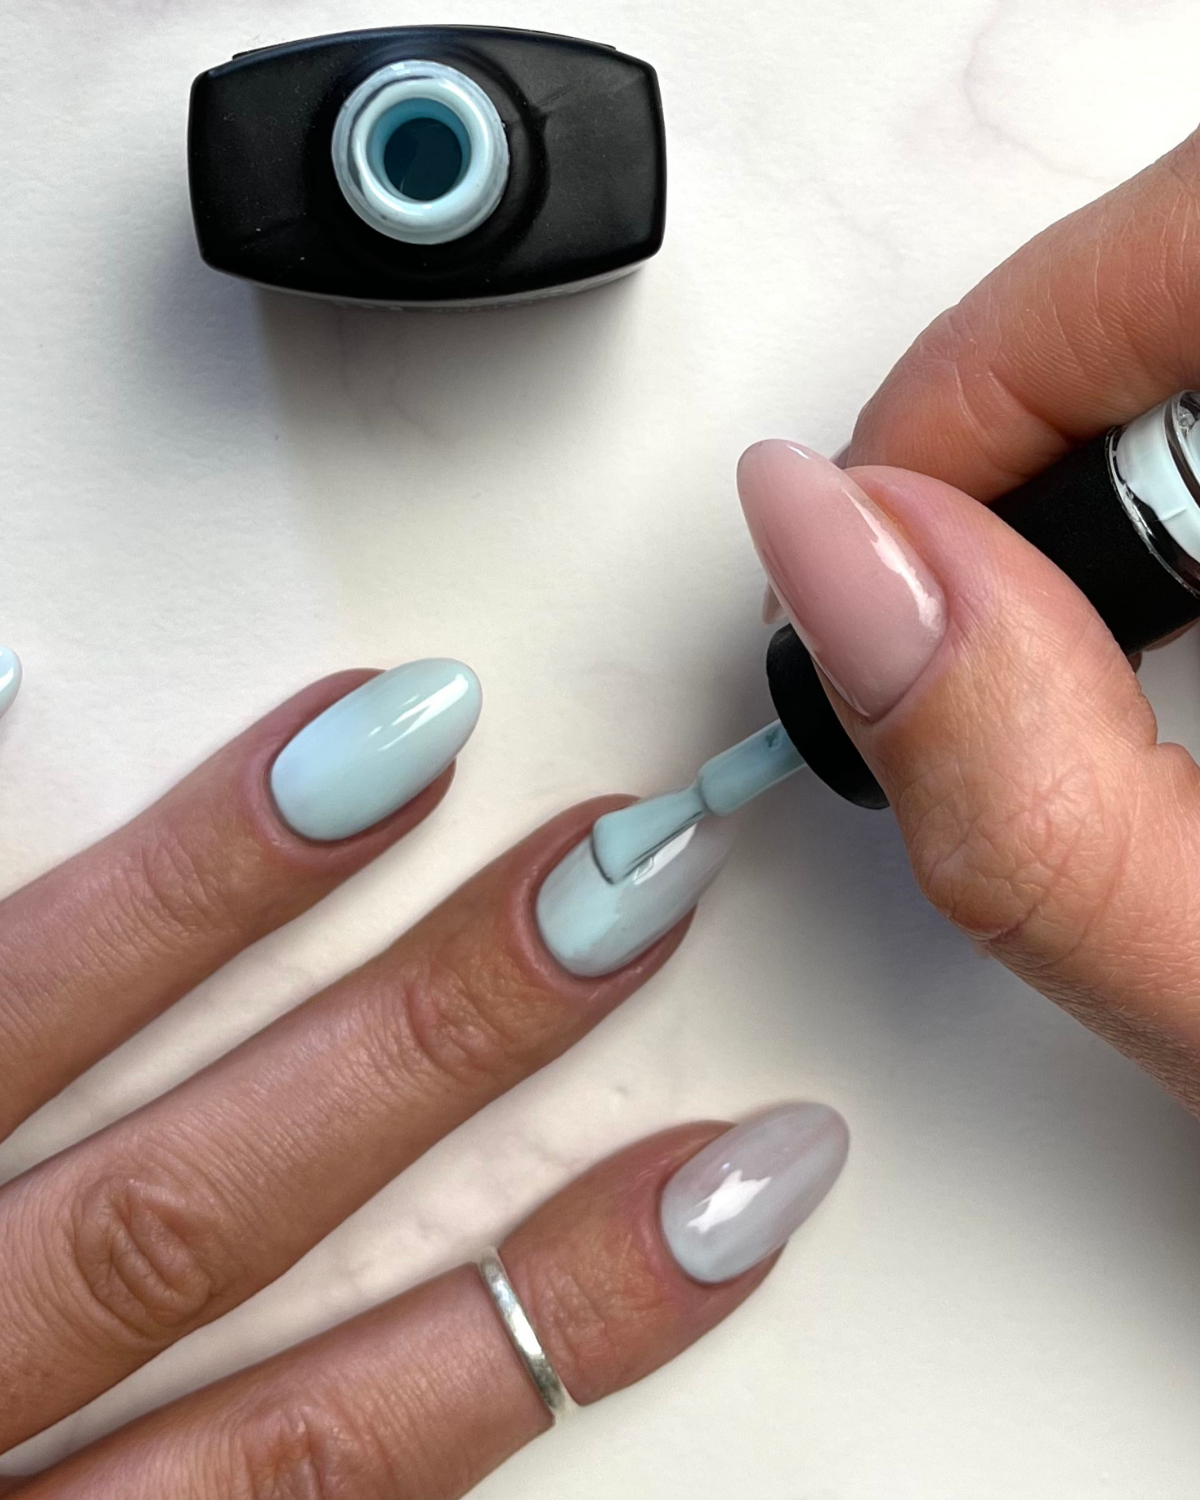
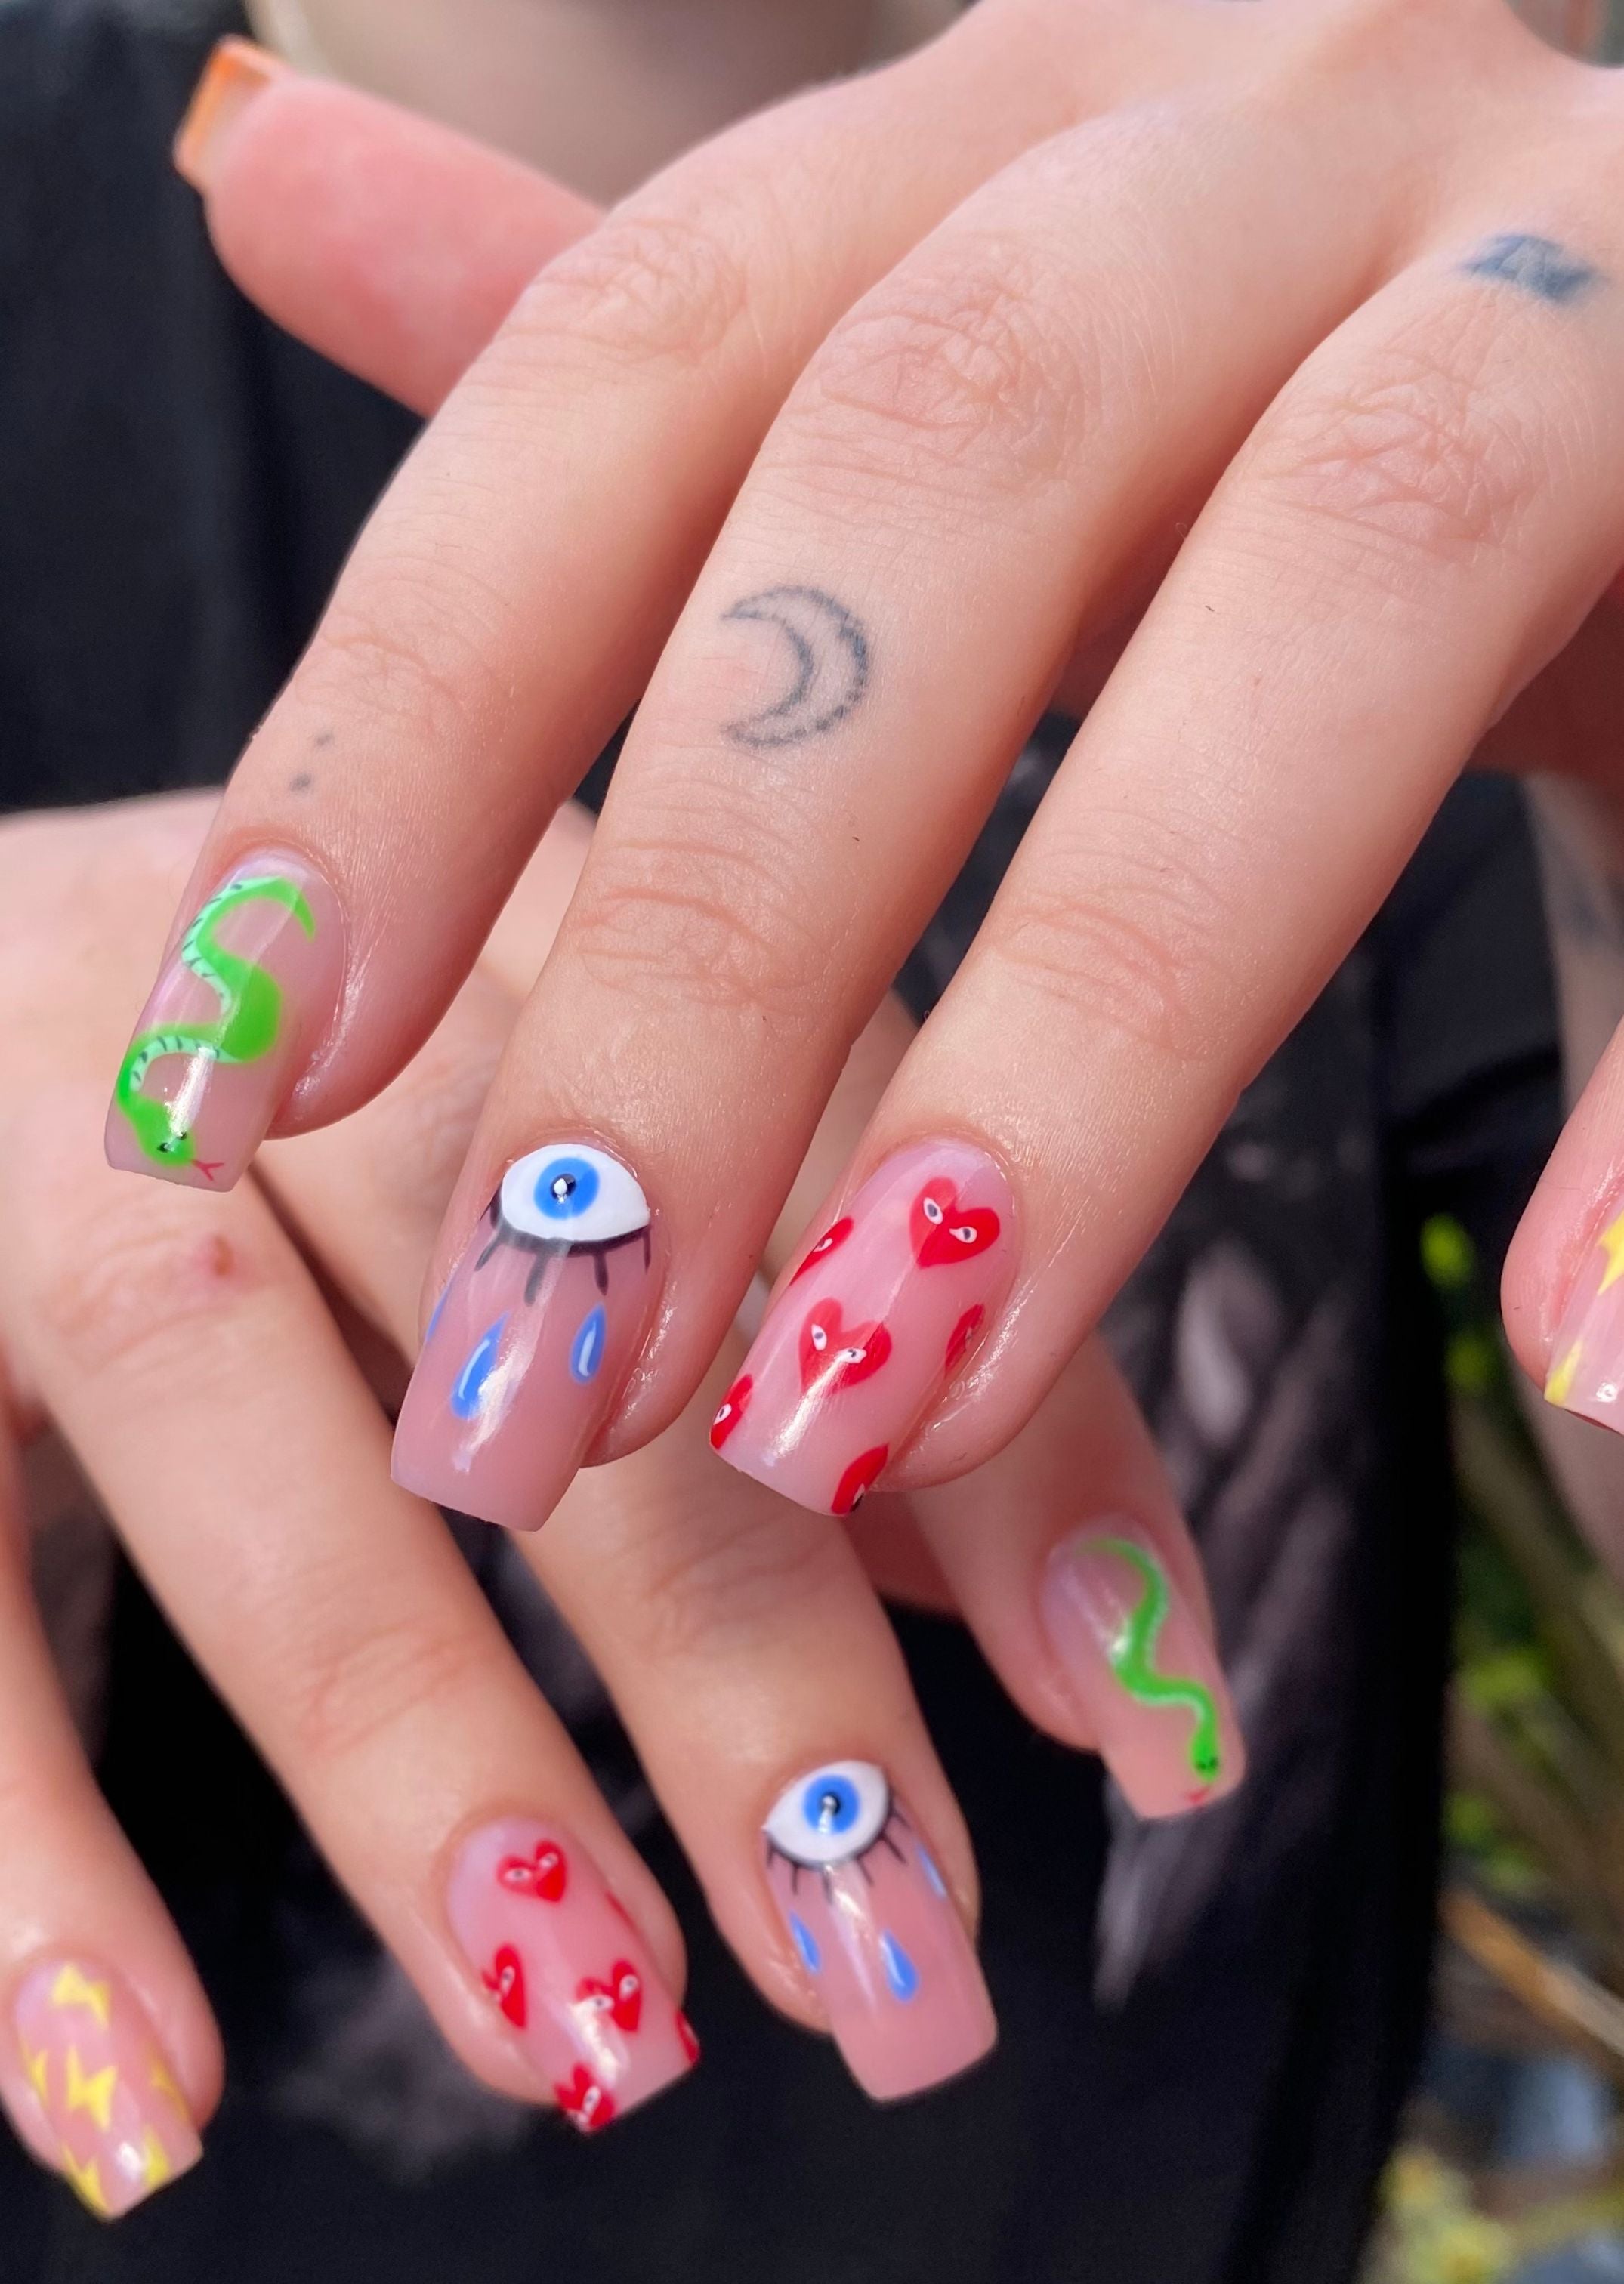
Do Experiment With Your Gel Nail Colours
Here at Mylee, we have over 180 gel polishes in a huge variety of colours and finishes, so experiment with different polishes from our collection.
We also have tons of nail inspo on our blog – from choosing the right colours to different designs and nail art you can recreate – so be sure to head on over there if you need some ideas.
Do Wipe Away Gel Polish From Your Skin Immediately
Clear up as you go because once gel polish is cured under the LED lamp, it leaves room for infections and reactions, which we obviously want to avoid. It can also leave a lip for the polish to start peeling from, meaning your mani won’t last as long.
To clean up your gel polish, use an angled brush (we recommend our Mylee Angled Brush for this job) and run it around your nails before curing.
Achieve the Perfect At-Home Gel Nails with Mylee
We’ve been in the gel nail game for quite some time, so we know a thing or two about achieving the perfect mani.
By following all our essential dos and don’ts for DIY gel nails, you’ll be sure to get the high-quality finish you’re after.
Stay up to date with our blog for all the latest tips, tricks and inspo, and don’t forget to shop our fantastic range of professional at-home gel nail products – from gel polishes to nail tools and everything in between.
FAQs
Is it Worth Doing Your Gel Nails At Home?
Yes! Doing your own gel nails at home will save you money and time that a trip to the nail salon would take. Plus, creating your own nail designs is fun and satisfying. All you need to do is make sure you’re using the right equipment and following all the essential steps for a professional finish.
How Hard Is It to Do Your Gel Nails At Home?
If you’re completely new to the world of nails, it will probably take you a few tries to really perfect your DIY nails. That being said, the process isn’t difficult – it’s just a matter of getting to know the right products and techniques. Applying gel polish is as easy as applying regular polish, plus you don't need to wait yonks for it to dry.
What Do You Need to Do Your Own Gel Nail Polish At Home?
You’ll need all the nail prep essentials, which include a buffing block, nail file, nail clippers, cuticle pusher, nail cleanser and dehydrator. For the polish application part of the process, you’ll need a base and top coat, a nail lamp, and a selection of gel nail polishes.
Can You Do Gel Nails Without a UV or LED Lamp?
No, you cannot do gel nails without a UV or LED lamp. Gel polish must be cured underneath one of these to properly set and harden, otherwise, your mani won’t last, and you’ll be left with messy results.

Ellie Simmons
Ellie is the Brand Manager at Mylee, where she immerses herself in all things gel nails.
Alongside being a skilled and certified nail technician, Ellie's expertise extends to gel manicures and nail extensions. Her heart and soul are devoted to all things nail-related, and she loves flaunting her own long, natural nails with captivating nail art.
Ellie's ultimate favourites are iridescent and sparkly designs!